
photo desk / A+B+C
Stand back first. Move closer second.
A close-up without context hides the size and location of the problem. Three deliberate views make the first reply more useful.
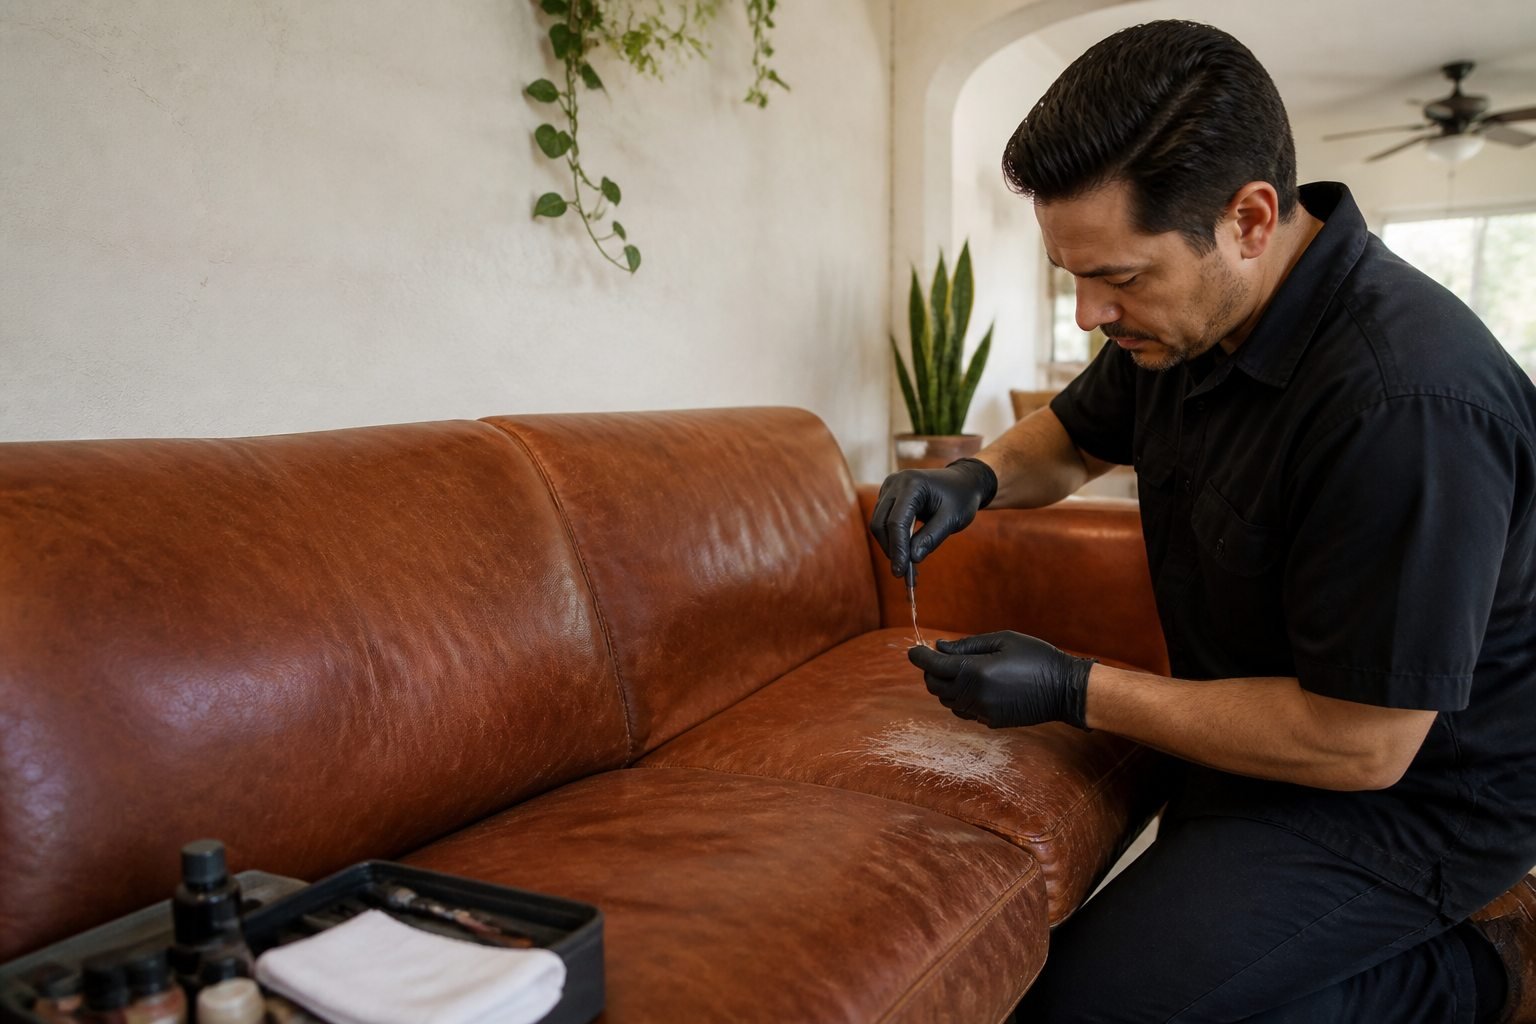
01 / the sequence
A
The whole piece in the room.
Keep the sofa, chair or panel fully inside the frame. This shows scale, orientation and available working space.
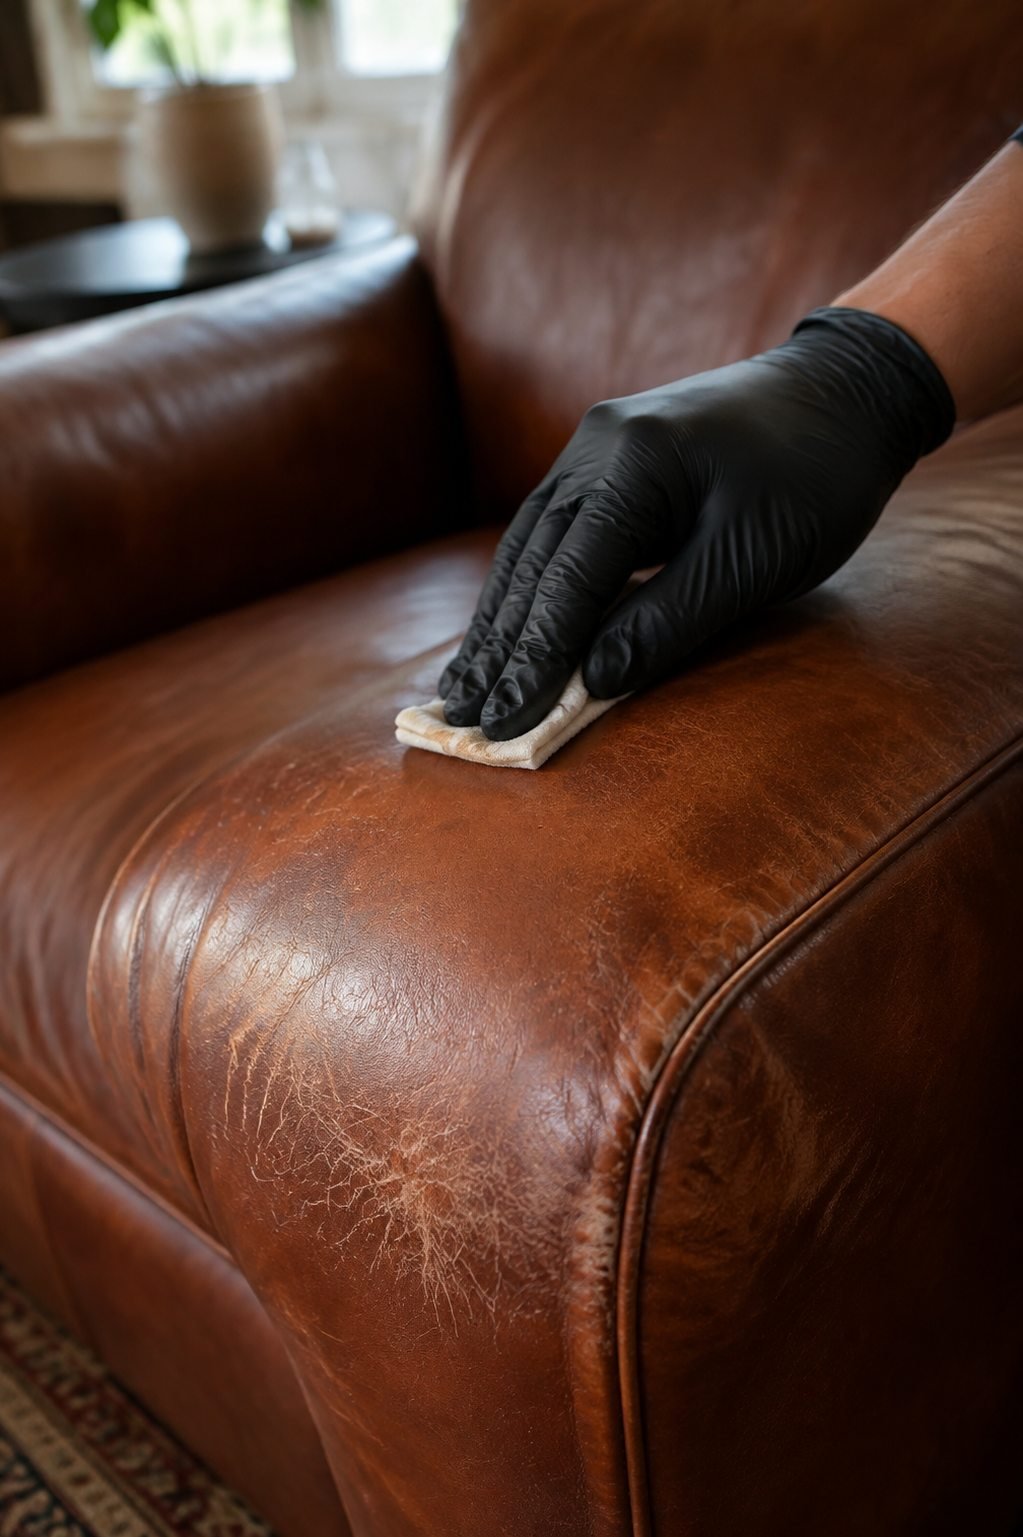
B
The exact edge of the damage.
Move close enough to show texture, flakes, open edges or color loss, but keep the surrounding finish visible.
C
A second angle in normal light.
Change position instead of using a filter or flash. Side light often reveals depth, sheen and lifting finish.
DAY
Use the light the furniture normally lives in.
Daylight or neutral room light is easier to read than colored LEDs, strong flash or a dark cropped image.
avoid hiding the evidence
- no beauty filters or color correction;
- no extreme digital zoom;
- do not clean or wet the area just for the photo;
- include every separate damaged zone.
02 / add context
The message matters too.
- where
- city or ZIP code and where the damage sits on the piece
- when
- when you noticed it and whether it is changing
- what was used
- any cleaner, conditioner, glue or dye already applied
- label
- a manufacturer or material label if it is easy to reach
Have the three views?
Upload up to six JPG, PNG, WEBP or HEIC files with the request.